Hiking Hydration Bladders:
What You Need To Know
By Diane Spicer
Hiking hydration bladders are a popular piece of hiking gear, and for good reasons.
However, a water bladder can be tricky to choose for outdoor sports.
And even trickier to maintain.
Know what you're getting into when you look at hiking hydration reservoirs, also called water bladders and hydration bladders.
Kind of apt, isn't it? You pour water into the hydration bladder, pull water into your bloodstream, and dump it back out in your urinary bladder.
The circle of life, right there on the hiking trail!
Sorry for the Disney diversion.
Let's get on with choosing the best hiking hydration bladder for your hiking style.
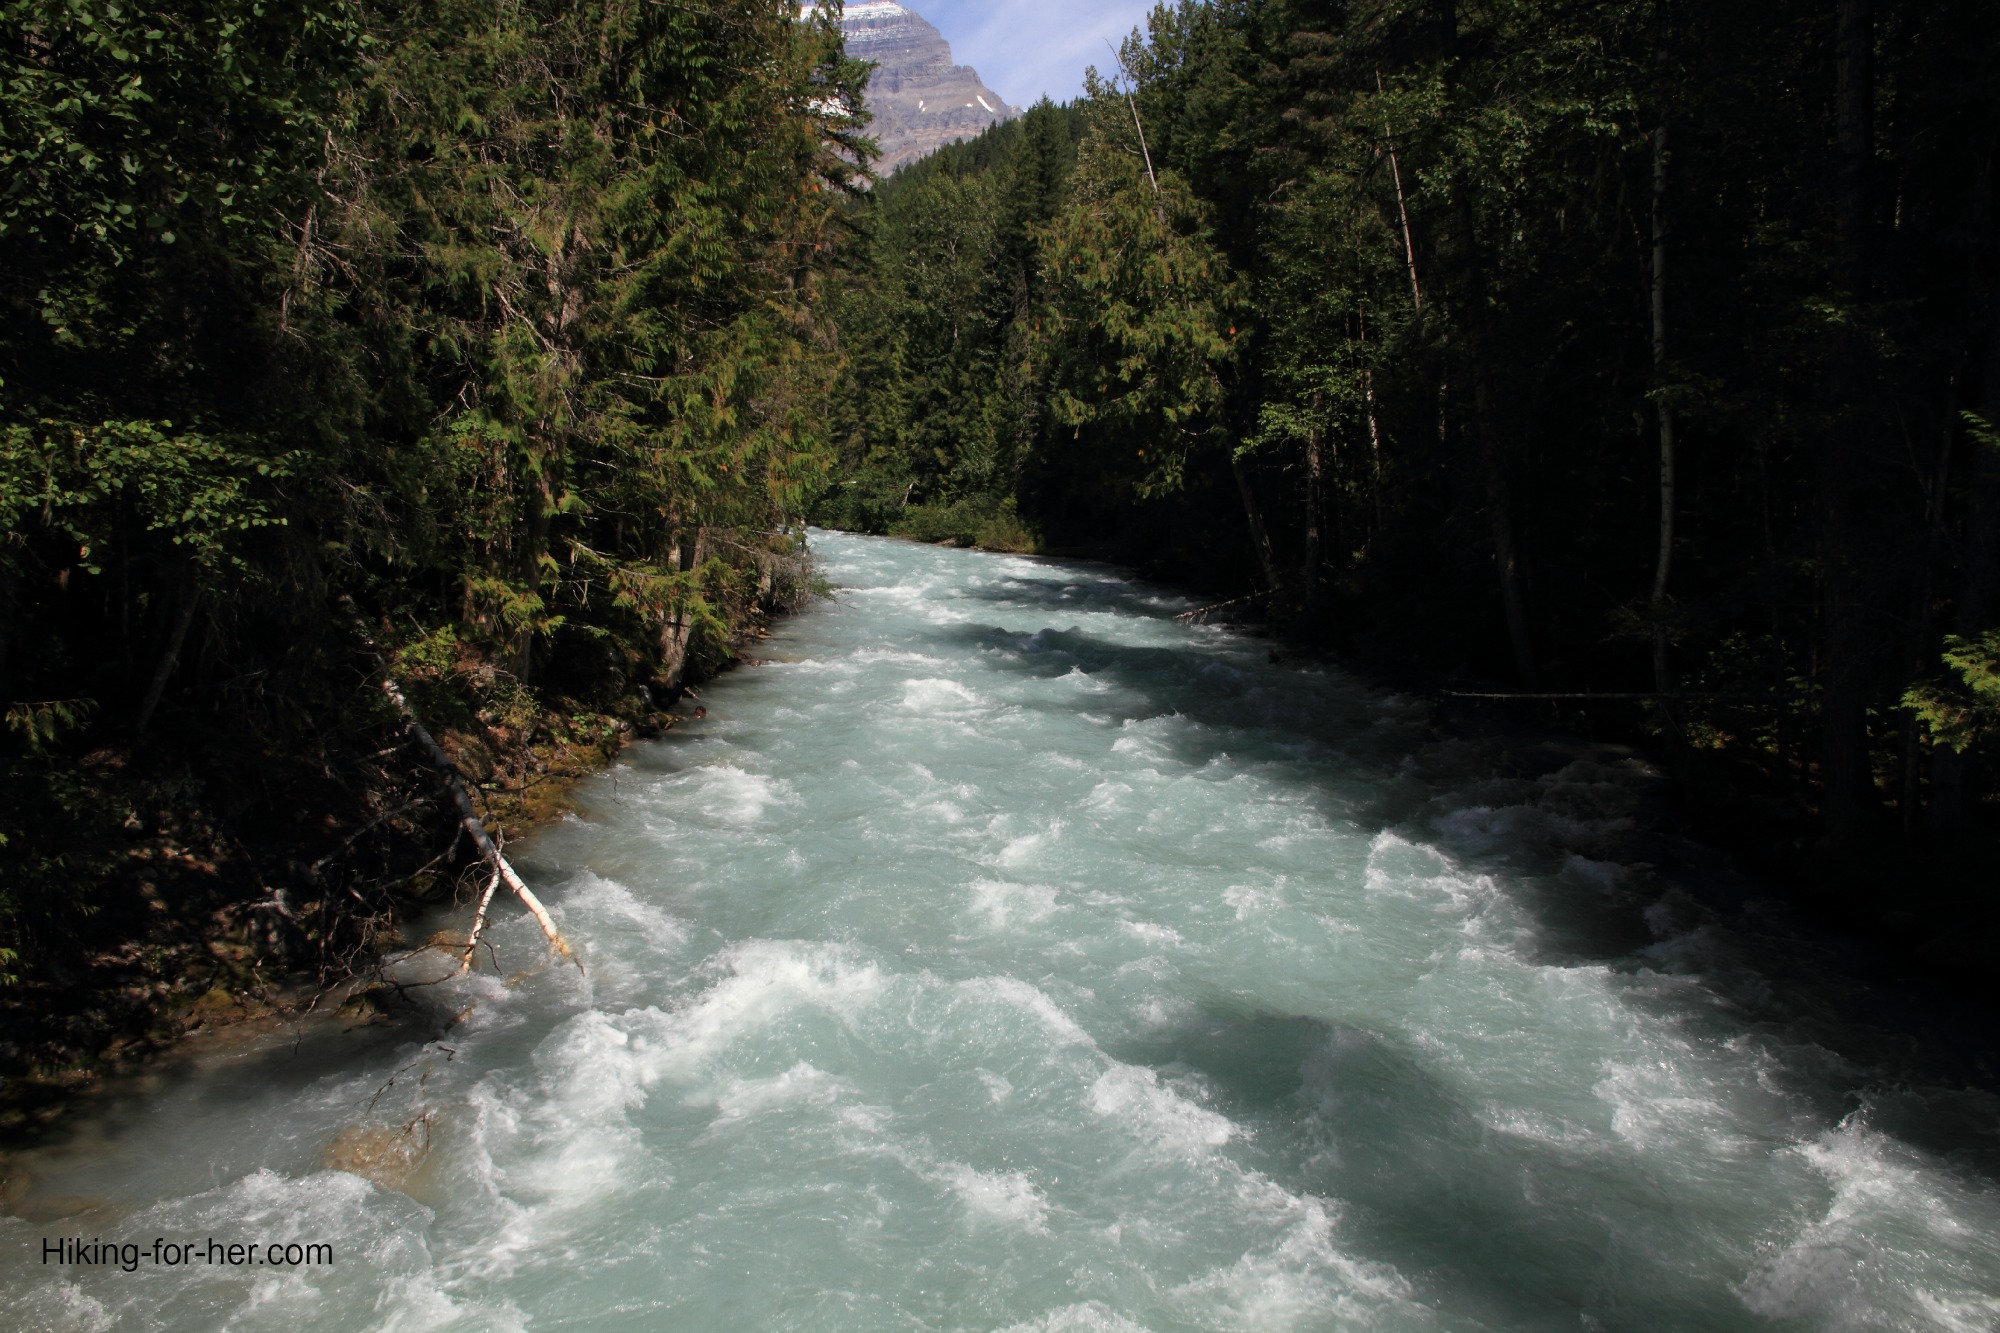 Hiking hydration bladders capture (treated) surface water and deliver it to your backpack!
Hiking hydration bladders:
the good news
The advantage of a hiking water reservoir is pretty obvious.
Rather than stopping on the trail, pulling out a water bottle, unscrewing the lid, and knocking back your hiking water, all you have to do is take a sip from the so charmingly named bite valve (i.e. mouth piece with stop valve) on the hose that connects to a water reservoir in your backpack.
Sounds so easy, right?
We'll get to the downsides in a bit.
For now, let's cruise along Easy Street and admire the view.
To buy the right hydration bladder for your existing (and hopefully beloved) backpack, consider the following factors that will determine whether or not a hydration bladder is going to work for you on the trail.
Note: If you don't have a backpack that is compatible with a bladder, you'll need to read about hydration backpacks.
- Check for the "hole(s)" in the top of your backpack where tubing would exit. Many newer packs have the reservoir holes, which might have escaped your attention until just now.
Choosing a hydration reservoir
Using a hydration system is a commitment, and you want to go into it with eyes wide open.
Here's the best advice I can give you: don't skip any of the following details in your quest for a leak proof water reservoir that will go the distance with you.
Capacity
How much water do you need for your daily activity level on the trail?
Two liters is a good number to steer by, and adjust it up or down depending on mileage and weather.
More on the importance of adequate hiking hydration here.
If you're going light and fast in cool weather conditions, you can get away with a smaller bladder.
Or you can treat surface water if your reservoir runs dry, with a LifeStraw water bottle.
- Read my review here.
Compatibility
Shape isn't the issue, it's how much expansion will occur when the bladder is full.
Don't buy a hydration bladder without knowing that it fits into your backpack when it's full.
The spec sheet (specifications) should help you figure this out by giving empty and full dimensions.
Get out your tape measure! Or risk disappointment when you try to wedge a full bladder into your pack.
Filling options
You want easy filling because who has time to fiddle around when you'd rather be hiking?
Where will you be filling up the bladder?
- Option #1: If you use tap water, consider how hard it might be to line up the bladder with a faucet at a campground, public rest room, or in your own kitchen. For versatility, a screw lid is a good way to go.
- Filling Option #2: If you're a backpacker relying upon surface water, you
want lots of surface area for flowing or standing water to flow into
the bladder. A zip lock style will make life easier for you. But don't overlook water purification techniques.
Hydration hoses
Now that you've got a full hydration bladder, you've got to have a mechanism for delivering water to your mouth.
Enter the hydration hose.
The hose needs to be compatible with the bladder on one end, and provide a bite valve on the other end.
Consider how easy (or not) it is to get the hose onto the bladder, and also visualize cold and hot conditions as you play with pulling the hose off and putting it back on.
Ahem! Do this with an empty bladder at first ;)
BPA free plastic components
The dark days of poisonous plastic are behind us.
Your bladder will probably be made of BPA free material, but check just to be sure.
Looks like the learning curve on purchasing the best hiking hydration bladders can be a bit daunting.
What else should you consider?
Ah! Time for a reality check.
Hydration reservoirs:
the dark (smelly) side
The term "reservoir" is used in the sense that your hiking hydration bladders can turn on you if you don't invest some thought, time and energy into their maintenance.
Hygiene
I am "cursed" with a microbiology background (of my own choosing), so I view hiking hydration bladders with deep suspicion.
You should, too, because they are hard to clean.
Your best defense is to select a bladder that is going to give you the best shot at getting a cleaning brush and sanitation fluids inside.
A zip lock is the obvious choice here.
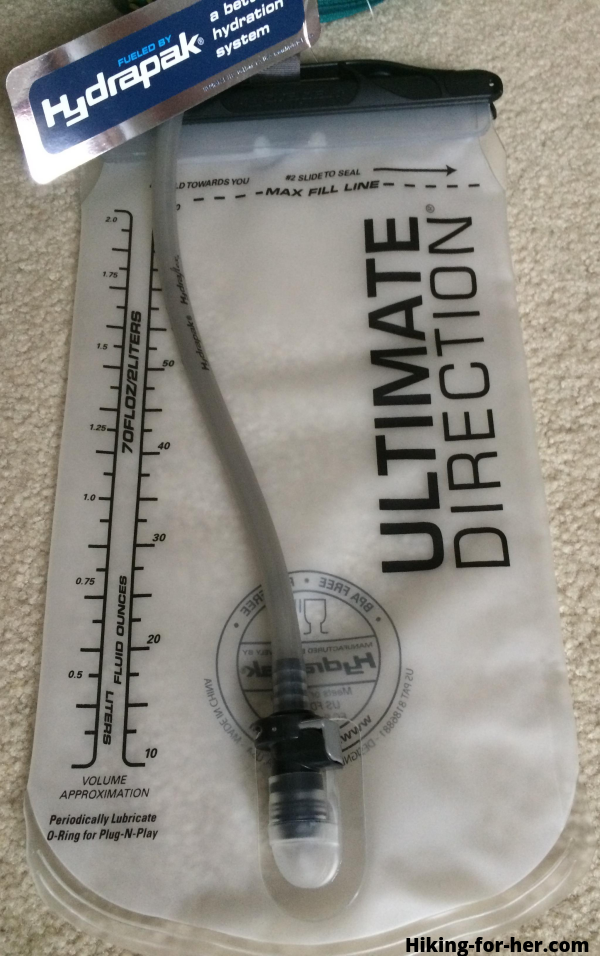
When not in use, keep it dry, and if it begins to waft the smell mildew, don't use it without taking immediate aggressive action.
Your cleaning kit may include:
- vinegar rinses
- cleaning tablets
- bleach
Your goal is to eliminate the microbes which are colonizing your water bladder without harming your own cells.
Be sure to rinse away these cleansing agents thoroughly before you sip from it again.
Hygiene: Part Two
What about the hose which also acts as a drinking tube?
So glad you asked!
Cleaning the hose is a challenge.
Three tips for cleaning your hydration hoses
1. Only use your hydration bladder for water, because anything with sugar in it is an invitation for microbial party animals.
2. There are scrub brushes you can buy to maximize the chances of evicting the microbes while scouring every nook and cranny.
3. Expect to replace your bite valve and tubing from wear and tear, or hygiene issues, or both with great regularity.
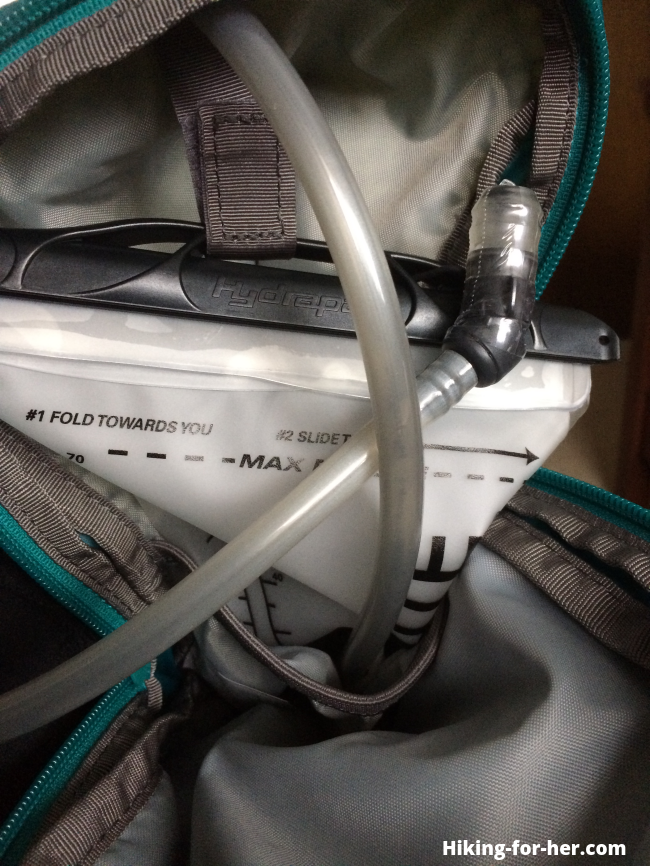
Ease of use
Is it as easy to drink from as a water bottle?
Do you have a steep learning curve before you can fill, use and maintain it properly?
There is no way to know until you purchase one, or play around with a trail buddy's equipment.
Leaking
Imagine the consequences of a flash flood inside your pack.
No big deal on a day hike.
Perhaps catastrophic on an extended backpacking trip in cold, wet weather when you really need dry gear.
No way around it: plastic has failure points and an unpredictable, yet finite, life span.
Tip:
Don't trust your water reservoir's integrity. Line the bladder compartment of your backpack with a heavy duty trash bag.
Trail usage
There is no way you're going to avoid contact with sharp and rough surfaces as you manipulate your hydration reservoir in outdoor conditions.
So if you're only going to use it for day hikes and fill it at your kitchen sink, you can minimize abrasions and gouges.
Everywhere else, beware!
Also guard against accidental squashing, as in a trail buddy or large dog flopping down on your backpack. It might not pop the reservoir, but it could dislodge your tubing.
Tip:
A hydration bladder and associated hosing can freeze, robbing you of appropriate amounts of water.
Carrying water bottles in an external pocket, or sequestered deep within your backpack, may be a better option in winter.
Filling sagas
If you hike a lot, inevitably you will be in a situation where the bladder is darned near impossible to fill using the the existing surface water.
My advice: carry a cup or empty water bottle (as counter intuitive as that may be) to assist you in your water reservoir filling efforts.
- Read my review of collapsible water bottles here. Saves space in your pack!
Time budgeting
If you're on a schedule (section hiking or thru hiking, or have plans to meet someone back at the trail head), factor in some extra time when you have to refill the bladder.
Hiking gear is going to have to come out of your pack so you can remove, fill, and replace the bladder.
You will also have to wrestle with the hose:
- Does it stay inside?
- Can
you access the contact point easily if it does stay inside?
- Will it leak? What can you do to stop it?
And it goes without saying that you want a shutoff valve that stays shut.
Otherwise you'll be stopping for water sooner than expected.
Life span
Plastic is forever in a landfill, but sadly not so on with functional hiking hydration bladders and hoses.
This is especially true if you use the system a lot.
- Buy a bladder with a generous warranty.
Don't set your reservoir down in direct sunlight and leave it there. Ultraviolet radiation exposure will hasten the break down of the plastic.
Price
Consider the cost of two water bottles, versus the price of the hiking hydration system (including brushes and cleaning tablets) you're considering.
Granted, if you only need the hydration bladder, you're ahead of where you would be if you also need a hydration backpack.
But water bottles last a long time (as in decades, with metal bottles like these), are easy to clean, and super easy to remove from your pack.
Your hiking water is a non-negotiable need, so don't let price be a deciding factor for you.
- Read through all of the considerations again, make a list of what's most important, and then decide whether or not hiking hydration bladders are for you.
Do you need a hydration bladder?
You can probably tell that I'm not a huge fan of hiking hydration bladders.
And not only for the functional and maintenance issues outlined above.
I believe that water breaks are an intrinsic part of the rhythm of the trail.
When I stop for water, I am also stopping to smell the air, admire the vivid colors and shapes around me, and do a quick mental body scan:
- How are my feet holding up?
- What's up with the twinge in my right ankle?
- Am I hungry already?
The deeper, more sinister reason I'm not a fan of hydration bladders is because they play into our persistent time poisoning: hurry hurry on the trail is not the way I like to hike.
However, you might disagree with me.
If so, here is one of the top rated hydration reservoirs from a trusted brand, backed by REI's stellar return policy and customer service.
- Be sure to read the specs carefully for dimensions, capacity, and all that other stuff mentioned above.
- Promise yourself that you will maintain the heck out of it!
And be sure to choose an outdoor backpack that is compatible with your hydration bladder.
- Tips on choosing hydration backpacks here
What do you think?
Don't hesitate to shoot me an email (CONTACT link) telling me why I'm all wrong about hydration reservoirs!
I'm an old trail dog, but eager to learn new tricks. Or at least pass them along...
Hiking hydration bladders or not, stay hydrated on the trail!
Now is a good time for some tips on hiking food to go with that hydration plan.
Home page > Best Hiking Gear >
Hiking Hydration Bladders
|
I get emails all the time about what I wear, eat, carry and love to use on the trail. That's
why I provide affiliate links to you: the best gear that I use myself and have seen used by other hikers is instantly
available for your consideration, and the gear company sends a few
pennies per dollar to this reader-supported hiking website. There is no added cost to you! Everyone ends up a winner: Great gear for you, strong gear companies, and more free hiking tips for everyone. Thanks very much for your support. It's warmly and sincerely appreciated. It also helps send these hiking tips to all your virtual trail buddies around the globe. |
 |
