Lacing Hiking Boots
To Prevent Toenail And Heel Problems:
How To Tips
By Diane Spicer
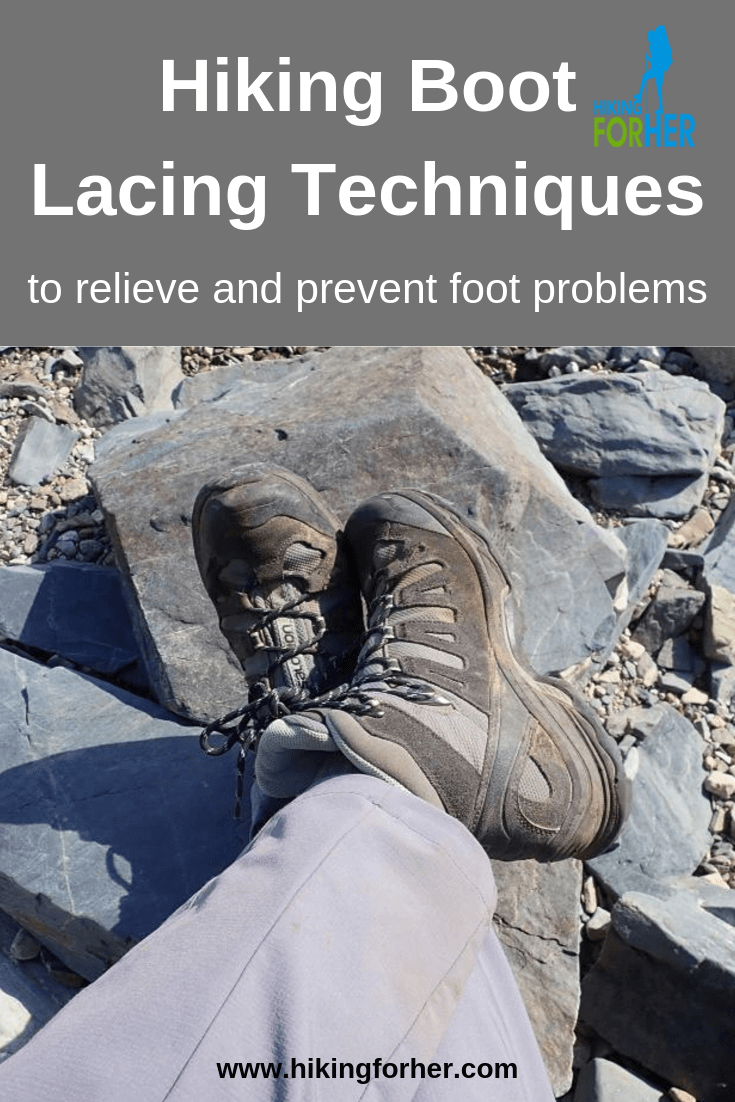
Lacing your hiking boots seems like a straightforward activity, doesn't it?
Except that if your feet are prone to problems, or your boots don't quite fit, how you lace your hiking boots is one of the most effective weapons you have against preventing foot issues like blisters and hot spots on the trail.
These How To lace tips will help you get those hiking boots laced up correctly.
- And these foot injury prevention strategies can be used, too.
You have my full permission to play around with the different "zones" of lacing on your boots: ankle, top of foot, toes.
Quality time spent with your hiking boot lacing strategy will pay off on the trail.
That's how you're going to get into the best hiking terrain, right?
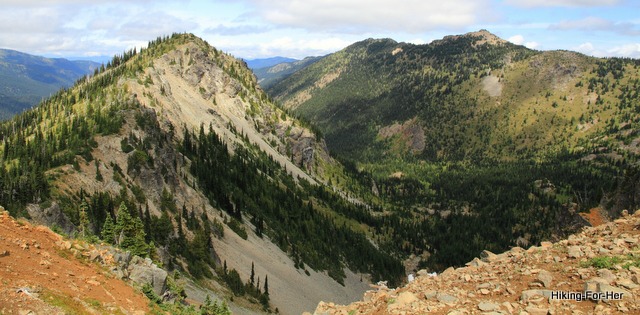 You want to be able to wander freely, not be hobbled by poorly laced boots
Lacing hiking boots to prevent blisters
Blisters are at the top of the list of most common foot problems plaguing hikers.
Here is an entire page of blister prevention ideas.
Followed by blister treatment ideas.
Because it's smarter to prevent than treat, right?
Rest assured, there are specific boot lacing tricks for blister prevention, focused on the zones of your boots. Let's get to them.
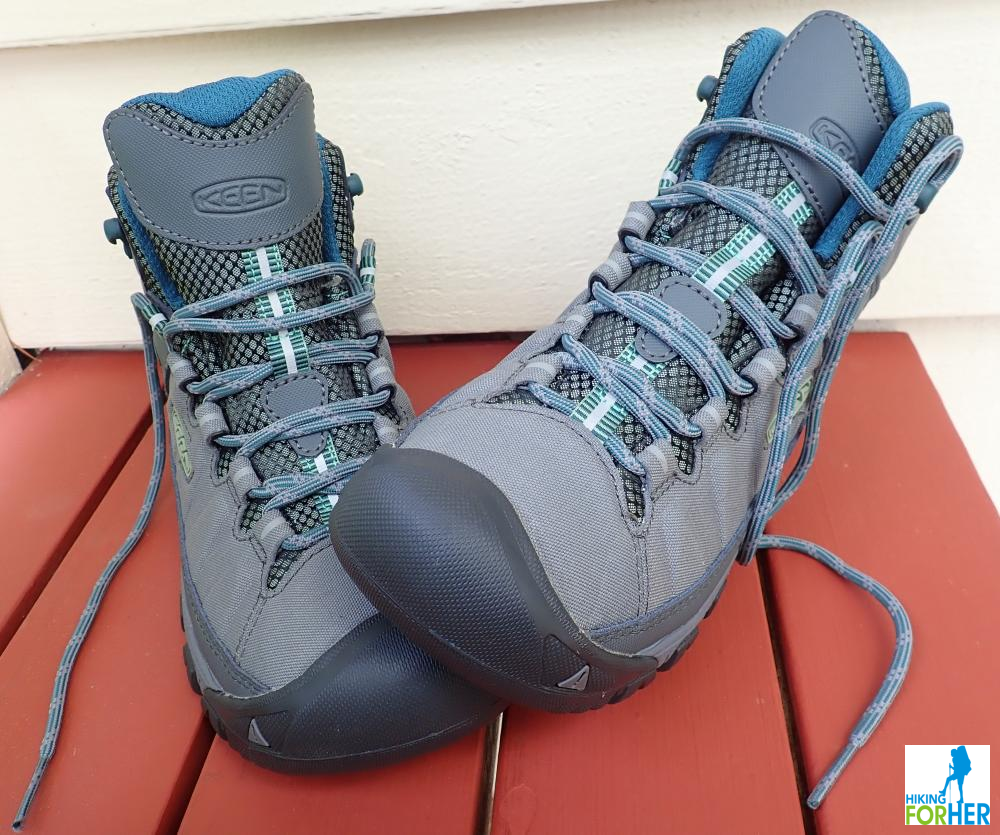 Your boots come laced up right out of the box. They don't have to stay that way!
Lacing hiking boots to prevent pressure
Your hiking socks and boots will press against the sides and tops of your feet, as well as on your ankles.
That's inevitable, and it's normal to feel some pressure.
Every hiker has a particular set of foot issues, including unique shapes and volumes:
- arches (high, flat or something in between)
- width (wide, narrow or the elusive "normal")
- toe length and spacing
You know you have boot issues when you get feedback from your feet in the form of aching, pressure, sensitivity, bruising and cramps.
You don't want to compress tissues and slow down blood flow into, and most importantly out of, your feet!
Boot lacing strategy for high arches
Here's a boot lacing trick if you have a high arch that presses the top of your foot against your boot:
- Skip crisscrossing between one set of eyelets when you lace up, and go straight up to the next set.
- Exactly which set of boot eyelets or anchors you skip depends upon where your pain and/or pressure is felt.
- Play around with this until you find the right area of the top of your boots to "leave unlaced".
- Each foot might be different, so don't be ashamed to lace your right boot differently than your left boot.
Long steep trail descents also make you a candidate for this pressure relieving technique.
As do swollen feet near the end of a long hard hike.
Don't overlook it!
Another pressure relieving approach
- Don't use the criss cross XXX type of lacing pattern.
- Instead, lace across the top of the boot from one eyelet to its corresponding partner in a --------- straight across pattern.
- This allows a lot of the top of your foot to remain pressure free.
Lacing hiking boots
to prevent heel slippage
Sometimes you need to lock your foot down tight into your boots, whether due to terrain, the hiking socks you've donned, narrow heels, or a boot that is too big/long or has a short toe box for your foot.
Use the well named heel lock approach to make sure your heel doesn't slip and slide around inside your boot, putting pressure on your toes and arches.
This video shows how locking down your heel can help you avoid ugly (or missing) toenails, among other things.
Note:
- If your feet are sensitive to pressure due to high arches, try something different. The heel lock techniques are for what is referred to as "low volume" hiking feet.
- You might also want to investigate hiking insoles.
Lacing hiking boots to prevent bruised, ugly toenails
What can I say?
Punishing your toes and toenails because you didn't lace up your hiking boots properly is something you'd be smart to skip on the hiking trail of life.
Here's a detailed explanation of various boot lacing techniques, both written and visual.
Select the solution that addresses your particular foot issues.
It includes creative names for the approaches mentioned above:
- surgeon's knot (heel slip prevention)
- window lacing (relief for pressure on top of foot)
- toe relief lacing (just like it sounds)
Boot lacing 101 recap
Don't ignore the customization features on your hiking boots called laces.
They're attached to the boots in various ways:
- Some boots have eyelets.
- Other hiking boots have a combination of hooks and eyelets.
- And some will have boot lacing systems, like a set of cords acting as pulleys. You tug on them to create tension, or to release it, until the fit is just right.
When you shop for boots and commit to a particular type of laces, you also need to consider which lacing method is best for final customization of the fit of the boots.
If you get to know your feet well, this will be make future boot buying decisions much easier.
Tip:
For the most control over slippage, pressure and hot spots, choose a boot which features old fashioned boot laces and eyelets.
And don't be afraid to get inventive with the scientific method of trial and error.
- Lace up your boots in ever more creative ways to defeat the demons of heat, pressure, lack of circulation and PAIN!
- Try different knots for more or less pressure and control over slippage.
- Use this same approach for getting a great fit with your hiking shoes, too.
- And recognize that different lacing strategies go with different hiking terrain. Remain flexible, and take time to adjust the laces when your feet start grumbling on the trail.
One last tidbit for your comfort as a hiker
One last tip:
Give up the myth of the perfect hiking boot. It ain't out there.
Work with what you've got! You can come pretty darn near perfection using these tips for best strategies for lacing hiking boots ;)
And read these boot buying tips to be sure that what you've got is the best fit for your hiking feet.
Save this to refer back to on your Pinterest hiking boards!
Home page > Best Hiking Tips >
Lacing Hiking Boots
|
I get emails all the time about what I wear, eat, carry and love to use on the trail. That's
why I provide affiliate links to you: the best gear that I use myself and have seen used by other hikers is instantly
available for your consideration, and the gear company sends a few
pennies per dollar to this reader-supported hiking website. There is no added cost to you! Everyone ends up a winner: Great gear for you, strong gear companies, and more free hiking tips for everyone. Thanks very much for your support. It's warmly and sincerely appreciated. It also helps send these hiking tips to all your virtual trail buddies around the globe. |
 |
