Hiking Boot Care Tips
By Diane Spicer
Hiking boot care - protect your investment, that's what I always say.
The best hiking gear costs a fair amount of money.
Schedule some regular maintenance to extend its life. These hiking boot care tips will help you make the most of your investment, both time and money.
Warning
Stop reading this if you'd prefer to buy inexpensive hiking footwear.
- Read about trail shoes instead.
The following information is for folks who paid quite a chunk of hard earned money for sturdy, well constructed boots with thick tread and weather proofing features.
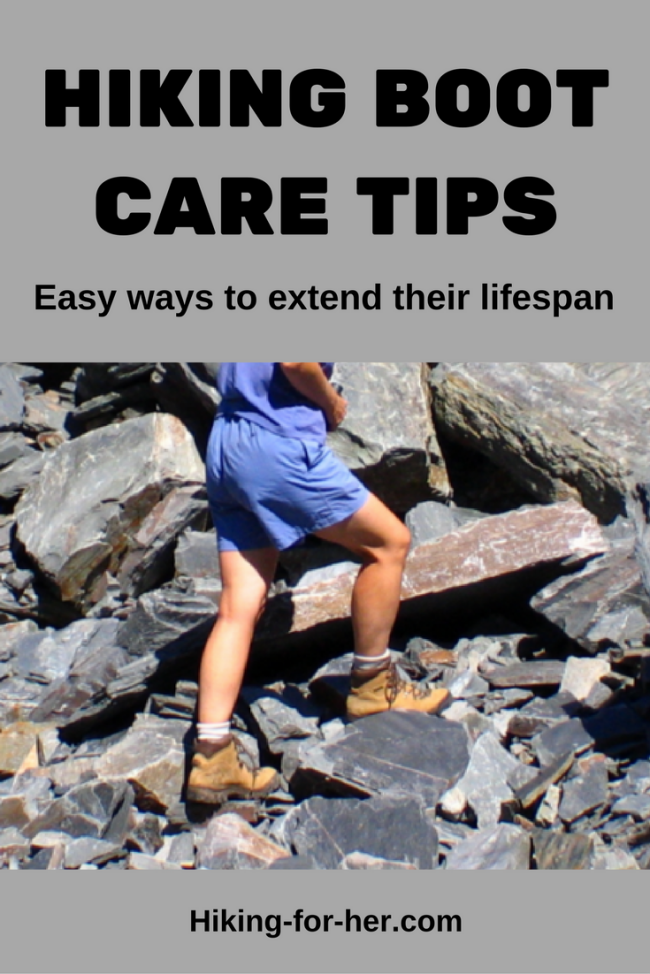
Case in point: the leather Zamberlans in the photo above, one of my favorite pairs of boots.
See them here.
Still with me?
Great!
I can just imagine your joy.
You've found the perfect pair of boots. [If you haven't, read this.]
- You took the pristine and lovely boots out of the box and now have them on your sock-laden, eager feet.
- You are sitting there admiring them as you plot their inaugural hike.
But wait! There's one more thing you should be plotting.
Regular hiking boot care.
Why should you be thinking about how to care for the boots before they have their first tiny bit of trail dirt on them?
Well, fair is fair.
Their end of the deal is to keep your feet injury free, dry, and stable regardless of terrain and weather conditions.
Your end of the deal?
Maintenance.
Hiking boot care: basic maintenance
The basics of leather hiking boot care begin with water proofing. It's a fundamental principle!
And it's fun. Seriously!
Here's how it goes:
- Buy some Sno-Seal. It is guaranteed to repel water, so expect it to be greasy and goopy.
It comes in a great storage can and can be tucked away in the gear locker between seasons.
Tips for applying Sno-Seal to your boots
Choose a hot sunny day to spread some used newspapers out on a solid surface (sidewalk, driveway, deck, patio).
Take the laces out of your boots.
Put on disposable gloves and take a huge glob of SnoSeal in your
dominant hand.
Insert your other hand into Boot #1. Apply glob and spread it around liberally with your fingertips. Consider it a boot massage!
- Spend some time thoroughly coating the boot surfaces with this water proofing. Rub it into seams and crevices.
Place Boot #1 on the newspaper, allowing the warm sunshine to melt the goop into the leather.
You know what to do with Boot #2!
Allow both boots to sit in direct sun for at least an hour.
Be aware that any metal on the boots may be hot enough to burn you, so use caution when you go through the second round of applying Sno-Seal... which you need to do next.
Allow your boots to cool off in the shade, then re-lace.
You're all set for whatever the weather can throw at you!
Who knew hiking boot care could be this easy?
Another, easier route
Use a product called Nikwax to waterproof not only your leather boots, but the fabrics of your outdoor athletic gear.
It's water based, and I find that it wears off much faster than Sno-Seal
But you don't
need a hot sunny day to apply it! And it's a lot easier to handle.
Hiking boot care: more tips
What should regular hiking boot care throughout a hiking season look like?
It depends on what you hike through, around, and over.
But one given: Get the grit off.
Here's what I've used to clean up my boots, and it works quite well.
Hiking in wet areas?
If you're in a wet area (bogs, swamps, mud holes), be aware that drying out your boots properly will extend their lifespan.
Don't put them near a heat source, because they will dry in weird shapes and you will lose all of the foot-conformity you've programmed into them by hiking in them.
- Let them air dry at their own pace.
This habit of speeding up the drying process will also crack leather boots along the "fault lines" that form in the toe area.
- This allows water into the toe box.
- And it greatly diminishes their life span in an area that is not replaceable or easily fixed.
If you are at all concerned that your boots will be misshapen after they dry, stuff them with old T-shirts to hold their unique conformations.
Lots of water crossings on your hikes?
If you're going to cross water above your ankles, consider using water shoes or sandals rather than subjecting your boots to all of that water.
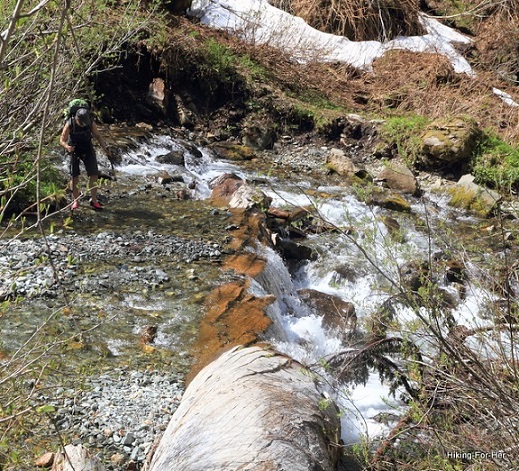 Sometimes hiking boot care means taking them off!
It all comes down to safety - can you make it across without losing your footing wearing this lightweight foot protection?
- If not, keep your boots on, but take some care in drying them out later.
FYI: It's important to know which types of water crossings are safe, and which you should walk away from.
- Here are some water crossing safety tips.
I use water shoes like these (see photo above).
- They ride along in an outer pocket on my backpack, encased in a plastic bag, until I need them.
- Once I use them, I lash them to my pack and they dry really fast.
Tip: Don't invest a lot of money into water shoes if your stream crossing are few and far between.
However, I've found that the super cheap kind fall apart after just a few uses.
- Your feet are important, so do whatever you can to protect them from rock strikes, sharp edges, and other unpleasant but inevitable events while fording a river.
Here's a middle road, one that I can't live without: my Teva sandals for summer hikes involving shallow, easy water crossings.
You'll know you're in for a "braided stream" hike by checking your map, right?
- So lash a pair of these lightweight, easy on and off, sandals to your pack.
In truth, you will find them on my feet both on and off the trail.
They're sporty looking, that's for sure! Take a look here:
Hot, dry, dusty hiking?
Grit, sand and desiccated conditions can really do a number on your leather boots.
Two best practices after a dirty hike:
Brush off the grit before storing your boots in your gear locker.
Check the soles for embedded rocks or other debris in the tread which robs you of traction. Use a nail file or sharp stick to dig them out and preserve your boots.
General hiking boot care habits
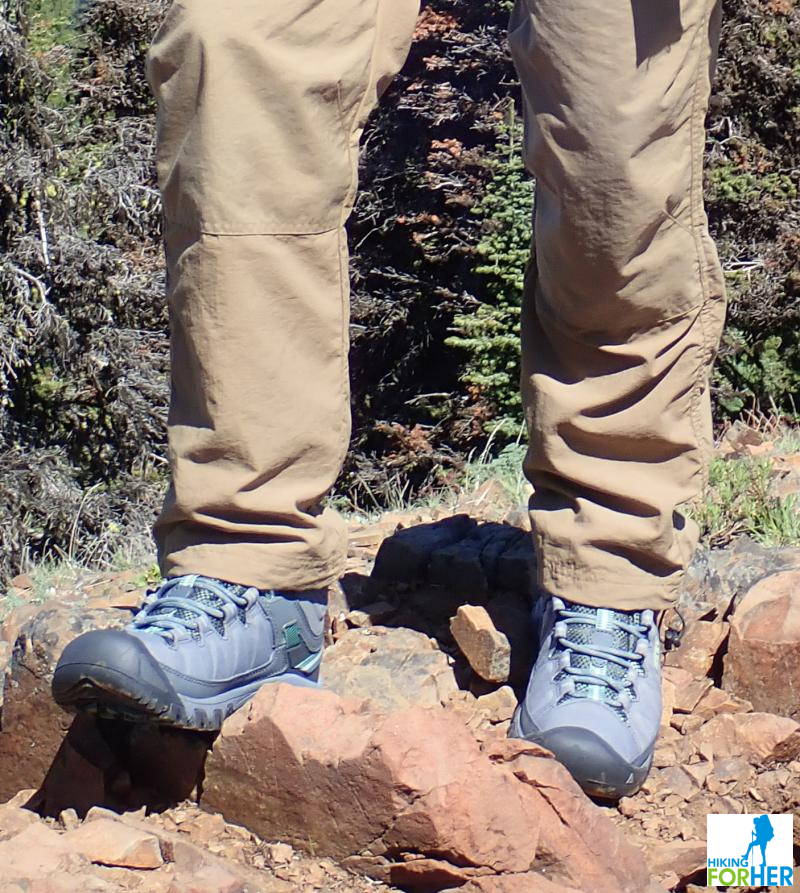
Regardless of the type of hiking boots you wear, it's important to give them a once-over every so often.
You want to avoid the scenario of a boot failure miles away from the trail head.
Check the laces or lacing system
Take a close look at the laces every season.
Unless you have the foresight to carry an extra pair, a broken lace can be a real pain.
- Literally! If you need to duct tape your boot sole back on, your gait will be thrown off.
- This increases the chance of blisters.
Know what's up with the tread
Check the tread regularly, especially if you're planning to be hanging onto a trail by one boot width.
You want good grip regardless of what's under your feet, right?
- If the tread is worn, find someone who can build a new
bottom for you. It's becoming trendy again to re-sole well built leather hiking boots.
- Or replace the boots.
Just don't overlook this safety item.
I've been on some pretty dicey footing, and it was my boot tread that gave me peace of mind.
- I knew I had the tread to handle it, because of my regular habits of good hiking boot care.
Support your soles
Consider inexpensive sole inserts if your boots are beginning to give you tired feet.
It may be that your body weight has maxed out the original boot materials, and they need a bit of help distributing your body weight.
I buy the boot inserts that you have to take a pair of scissors to, trimming them to fit my particular boots.
And I don't feel badly when I throw them away at the end of a season (or a particularly wet hiking adventure), because of their low cost.
I also use hiking boot insoles from TreadLabs, and they make my feet feel very, very good. Read my review here.
A few final tips on hiking boot care
Don't keep hiking in boots that hurt your feet.
Believe me, I know it's painful to throw expensive boots away, but it's also painful to hobble around after a hike.
To relieve yourself of poorly performing boots without the pain:
- Consider a gear swap.
- Sell them back to REI via their used gear program, to give them a chance to take hikes again.
- Simply give the boots to someone who wants them. I once gave a $200 pair of boots, worn once, to a student of mine - she was very grateful, and I was relieved!
Last tip for you
Before you give up on a pair of boots, play around with your hiking socks. It may be a bad combination that's playing havoc with the well being of your feet, not the boots alone.
- A new sock choice might be the right, and most inexpensive, fix.
Home page > Best Hiking Tips > Hiking Boot Care
|
I get emails all the time about what I wear, eat, carry and love to use on the trail. That's
why I provide affiliate links to you: the best gear that I use myself and have seen used by other hikers is instantly
available for your consideration, and the gear company sends a few
pennies per dollar to this reader-supported hiking website. There is no added cost to you! Everyone ends up a winner: Great gear for you, strong gear companies, and more free hiking tips for everyone. Thanks very much for your support. It's warmly and sincerely appreciated. It also helps send these hiking tips to all your virtual trail buddies around the globe. |
 |
