Hiking Gear Check:
A Smart Hiking Habit
By Diane Spicer
You can save yourself a heap of time and trouble by doing a routine hiking gear check at the trail head before every hike.
Become one with the word "prevention": find it and fix it before it causes you trouble on the trail.
- It's a habit any seasoned hiker has developed over the years.
- And it only takes a few minutes.
Keep reading to find out how I do a fast but thorough hiking gear check before each hike.
Hiking gear check best approach
caveat
Your hiking gear is different than
mine in the details.
But essentially we both carry a pack, wear sturdy trail wear and hiking clothing, and have a hydration strategy.
- See more on Hiking Ten Essentials here
We probably have some of the same hiking accessories: trekking poles, for instance.
Here's my methodical approach to a hiking gear check, before each and every hike.
Your modifications will give you an optimized list of hiking gear checks, and they will change with the hiking seasons.
Let's start off on the right foot.
Check your boots first
I start with my choice of the best hiking boots. I have a few different pairs, to match the varied terrain I like to hike through.
Once I get the boots (or trail shoes) on, I ask myself:
- Are they laced too loosely?
- Do my socks side when I take a few steps?
- Do I need to wear liner socks on this hike?
Or an even worse scenario: Are the boots laced too tightly?
- Lacing techniques here
Unless you do these checks, it's gonna be "ouch time" before you know it, especially on the down hill parts of the trail.
You won't know for sure until you take several steps with your pack on.
But you can get a clue just by standing in your boots.
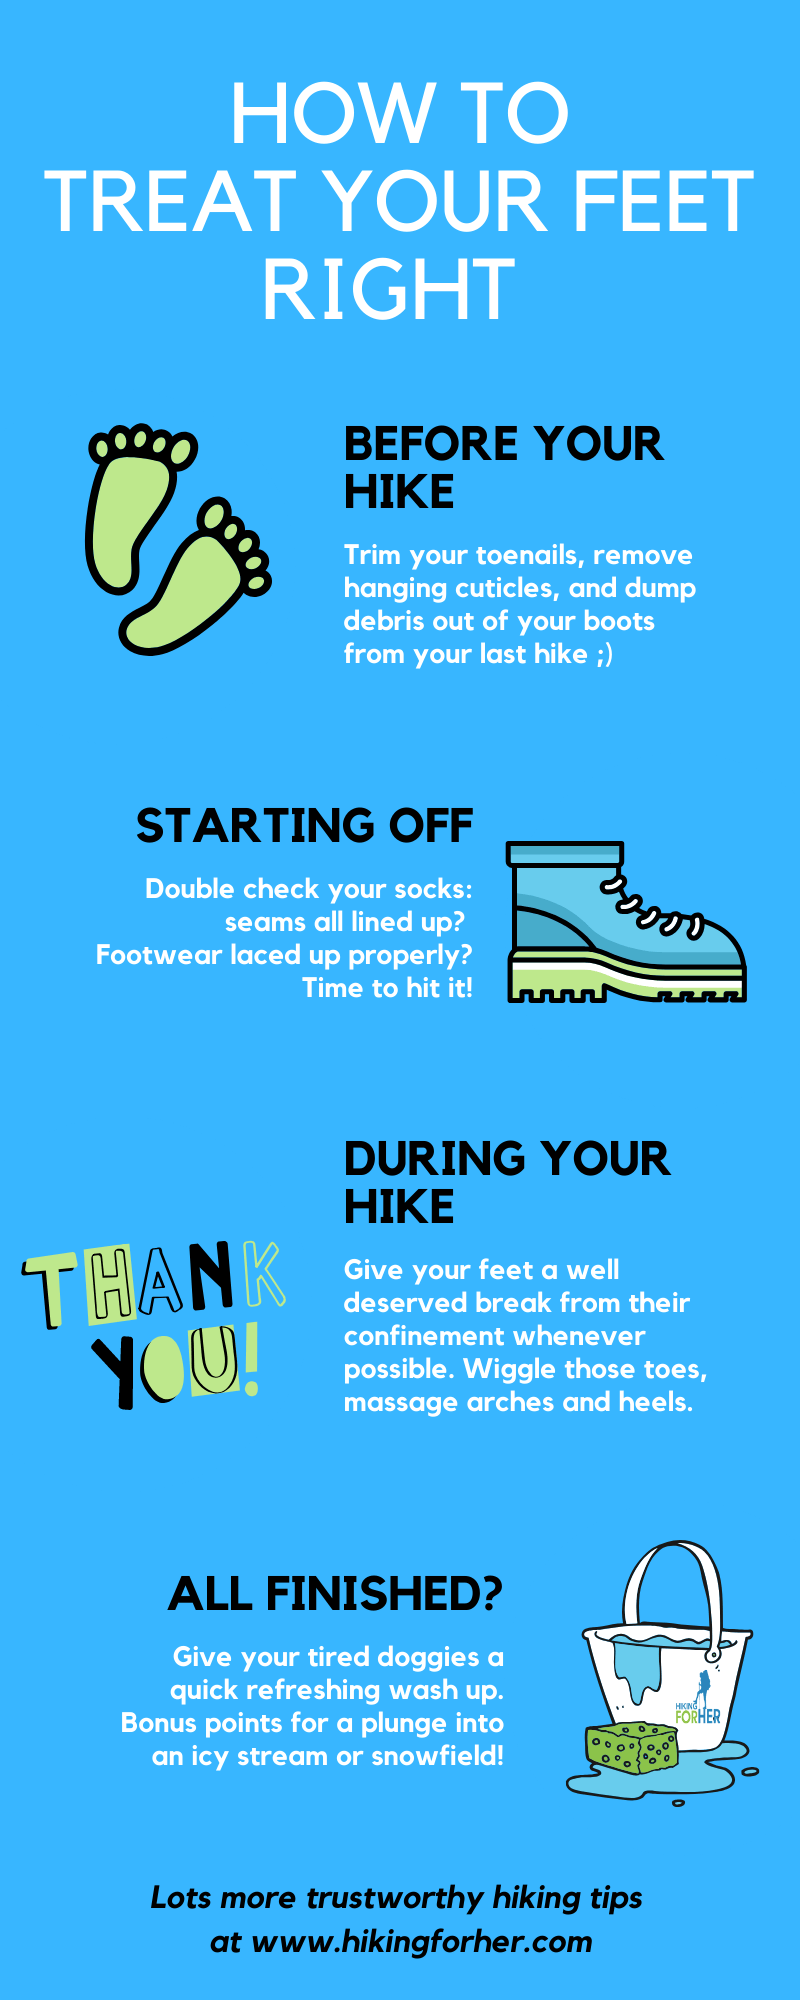
- I know, I know it's irritating to stop and untie the boots right off the bat, but if you wait, you run the risk of developing blisters or hot spots.
- Or limping back to the trail head with sore feet.
So that's why I take the time to pay attention to where my boots feel weird.
Make it a habit to wiggle those toes and see how things feel down there!
Spend a little time upfront to save it later
Maybe it only takes a simple sock adjustment.
- Often, one of my socks is inside out and the seam hits my toes in the wrong place.
- Or I didn't take time to position the liner sock with respect to the outer sock, and have to do it now.
- Other times there's a pebble in my boot, or a stick left over from the last hike. Eviction time!!
Whatever the issue, I take the time to fix it.
Please don't make the newbie mistake of just "sucking it up", because it will eventually lead to foot troubles.
Clothes check - check!
Next, I do a mental clothes check as part of my hiking gear check.
How do my hiking pants/shorts feel?
- Should I adjust the waistband?
- Is there too much junk in my pockets?
- Are my car keys jabbing me, and should be relocated to my backpack?
Full disclosure: Sometimes my underwear and my pants are locked in mortal combat.
A quick discreet adjustment does the trick.
- Tips on best hiking underwear here
Other times, I need to step into the woods for a minute to fight the battle and win the war.
Another question to ask before your hike
Am I wearing too many layers?
Rookie hikers make the mistake of starting off a hike with a jacket, a long sleeved shirt, a thick hat, and gloves - just to ward off the morning chill.
Five or ten minutes into the hike, they have to stop and peel.
This messes up their hiking pace, forces the body into sudden thermoregulation cycles, and makes muscles cranky.
That's why I like to err on the side of feeling chilly for starters, and never start off with a jacket unless it's snowing or raining.
Read more about hiking clothing layers here.
And the best hiking jackets here.
Trust me on this!
Endure a few minutes of feeling a bit cool, and rely upon the heat generated by your skeletal muscle contractions to make you feel toasty warm soon after you start hiking.
Trail Tip: Wear a hat and gloves when you start off. They are easy to peel off when you're all warmed up.
How's life with a backpack on?
After I'm satisfied that my clothing won't chafe, irritate or bind me, I take a few steps and ask my back and shoulders to check in with my pack.
- Any tight spots?
- Any pulling sensations?
- What about neck strain?
If you are wearing a properly fitted backpack, you should have several options for adjustments at the shoulders, chest, and waist.
Don't be afraid to tug on all of those cords and toggles, if only to experience how the pack feels differently on your body.
- I routinely wore a new day pack way too high on my shoulders until I tugged on just the right cord, and Ah! experienced the relief of a better fitting pack.
- I see many hikers that don't have a backpack that fits their frame, or needs adjustment. Don't be that hiker!
Alternatively, have your hiking partner make adjustments if you can't grasp the cords while wearing the pack.
- Sometimes a hiking gear check takes more than one set of hands!
Backpack packing check is up next
Next, I do a quick mental check-in regarding how my pack is packed.
- Anything jingling, squeaking or rattling around?
- Too much weight over my shoulders, when it should be directed more towards the bottom of the pack where my hips can deal with it?
- Is my load balanced, or am I being pulled to one side?
- Are my water bottles securely stowed in their original upright position?!
These little things can drive any hiker crazy after awhile, especially on a multi-day backpacking trip.
- Best tips for packing your backpack here
If you use trekking poles, read this
If you routinely use adjustable hiking poles, it's important to check how they're functioning, too.
Ask yourself these questions:
Did I adjust them to the right height?
Adjustable trekking poles are the only way to go IMHO.
You can change the length according to the hike you picked, as well as the portion of the hike you're enjoying at the moment.
Not to mention how packable they are!
Example of when a pole adjustment helps you: Make the pole facing into an uphill portion of the trail shorter than the other pole so you can keep a steady stride.
How do they feel in my hands today?
Every day is a new day on the trail.
If your hands are sore from gardening, hiking with arthritis, or a tough workout the day before, you might have to adjust the strength of your grip on the poles.
Or you could use the wrist straps to take some of the weight from your hand grip.
Do I have the right handed pole in my right hand?
Check to see if your poles have "handedness".
If they do, it will most likely be stamped onto the wrist straps.
Trail Tip: I use a permanent marker to print a big R and L onto the tops of my poles, so I'm never in doubt.
Believe it or not, it makes a big difference to use the correct pole in the correct hand!
Should I use the wrist straps, or do without them?
There are portions of the trail where having your wrist straps in use can be dangerous.
Example: On a steep stretch of trail where you might fall, and be unable to get your hands out of the straps quickly to grip vegetation.
Of course, there are portions of trail where you want to use the straps to hang onto your poles!
Example: The footing has become slippery (mud, snow, ice) on a steep stretch.
Trail Tip: Don't fall into the "always" habit of never using the straps, or relying upon them on every hike.
Are they necessary on this stretch of the trail?
Why make your hands tired by gripping poles when you don't need them?
For flat, well maintained trails, stow the poles on your backpack for awhile to give your hands a break.
Most backpacks have pole attachment points, so find where yours are before you need them.
Head check as part of hiking gear check
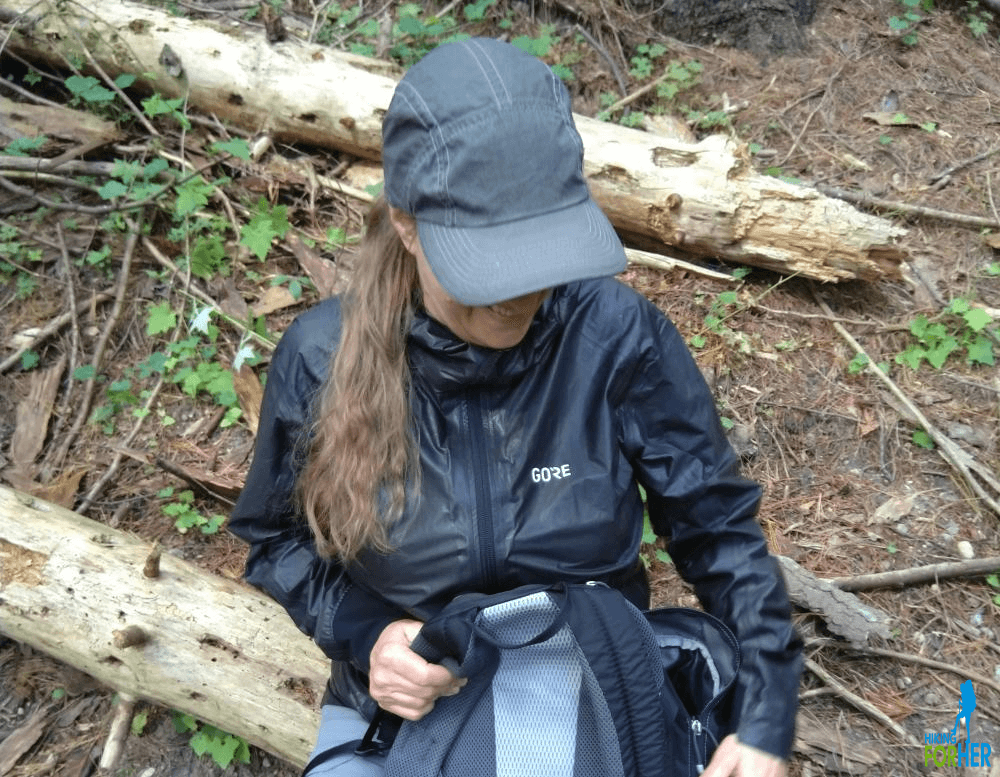
One last hiking gear check: my head.
Not my mental status.
My actual head.
- Is my ponytail/braid/bun/hairclip playing nicely with my hat?
- Are my glasses sliding down my nose?
- Do I need to apply lip balm already?
- If I'm sneezy, are my tissues handy?
- Should I put my sunglasses on a cord around my neck?
- Where's that granola bar for when I'm wanting to tear into a snack?
- Is my sunscreen running into my eyes already?
You get the idea!
Minor adjustments now give you a much more pleasant trail experience.
Don't be the hiker who soldiers on bravely until these irritations result in a melt down or a snapping, snarling approach to the trail.
- You may have already met or hiked with these folks, so you know of what I speak.
Check your mental
hiking repertoire, too
Now for the mental part of your head.
Your brain is your most important piece of hiking gear, because by making good decisions you'll have an enjoyable and safe hike.
Pay attention at the trail head to little things that can really jam up your hike.
A few examples of questions you can ask yourself to save time and aggravation later:
- Maybe it's time for
sunscreen, Or will I be in a shaded area all day?
- Have I forgotten
the lunch sack? (the horror)
- How long will it take to reach my objective for the day, or my turn around point if I'm just out on an exploring hike? It might be time for a quick map check.
Engage your spidey senses
Also scope out people who are acting strangely at the trail head.
You know that "uh oh" feeling, right?
Is anyone lingering or lurking?
Smirking?
Staring?
Hikers don't do that!
- Pay careful attention to their license plate number, physical description and anything else that can be used to identify them later.
- And if you're hiking solo, be sure you're not being followed once you get started on the trail.
Hiking gear check, round two
Once I've been walking for 15 minutes, I check in again with my feet.
They rule the roost on a hike, as far as I'm concerned. If they ain't happy, ain't no one happy.
- Or going anywhere!
Thus, if I feel any pinching or heat anywhere on my feet, I stop and remove my boots and socks.
I sometimes duct tape the contact points between feet and boots pre-emptively, just to head off trouble.
These little hot spots could blossom into full blown blisters if I ignore them.
- I carry duct tape wrapped around my water bottle, in case I need it during the hike - when I'm sensing too much heat in any one area.
- You could also stash some on a trekking pole.
- Or upgrade to LeukoTape to protect your skin.
Trail Tip: If you do get a blister, don't berate yourself. Just use these blister treatment approaches.
Build an even better habit
Do a systematic hiking gear check at the beginning of each new hiking season.
That means dumping out your backpack, and your hiking clothing, onto the floor.
Paw through everything.
Check it for wear, tear, abrasions, anything that will impact your upcoming hiking season.
And double check that you have everything on your hiking gear lists:
Check your gear and go forth!
As you can see, I am a firm believer in being comfortable and safe during a hike.
It only takes a few moments to check in, and make the necessary adjustments, to ensure a great hike.
Trail Tip:
- Don't feel that you have to apologize to your hiking companions for having to stop to make adjustments once you get rolling.
If they're seasoned hikers, they'll understand the importance of a hiking gear check at the start of the day. And regular check ins along the trail.
Because in the long run, it saves everyone time and keeps everyone safe.
Regular gear checks: what a great habit for any hiker to develop, and now you have some tips to get you started.
Hurrah for good hiking habits!
Now build some great hiking self care habits.
Home page > Best Hiking Tips >
Hiking Gear Checks
